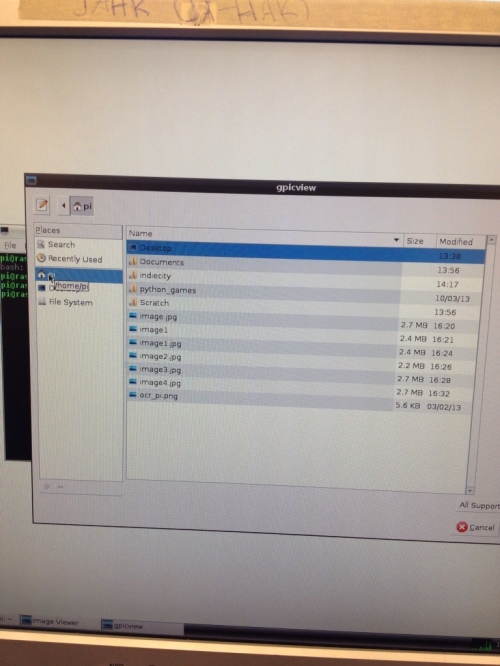
Here is a step-by-step sequence on how to take a photo using the camera. Please note that to take a video, you need to download specific software from the internet to review your video. Remember the camera is fragile and not static-friendly (‘Earth yourself’ before touching the camera).
1, Go to the desktop
2. Click on the ‘LX’ (LX Terminal) symbol at the bottom left of your screen.
3. Type in sudo raspi-config
4. Choose “5. Enable camera”
5. Choose “Enable”
6. Scroll down and use the Tab key if necessary to choose ‘Finish’
7. Choose to Reboot and choose “Yes”
8. Place blue camera strip towards Ethernet portal and pull out camera portal and insert strip
9. The Pi will reboot and type in
Login: pi
Password: raspberry
startx
10. Then go to ‘LX’
11. Type raspistill -o image.jpg
12. Press return
13. Photo will be taken
14. You now have returned to the desktop
15. Press “Start” bottom left corner
16. Select “Accessories” then “Image Viewer”
17. Press “Open file”
18. Choose “Pi”
19. Choose “Image.jpg”
20. You’ve got your photo!


